


If your dryer suddenly takes two or three cycles to finish a load, the problem may not be the machine. It may be the vent on your roof. Knowing how to clean your roof dryer vent matters because roof terminations collect lint differently than wall vents, and when that buildup gets ignored, airflow drops, energy use climbs, and fire risk goes up.
A roof dryer vent is also harder to inspect casually. You do not walk past it every day, and most homeowners never see the cap unless they are already up there for shingles or gutters. That is exactly why roof-mounted dryer vents can stay clogged longer than they should.
Why roof dryer vents clog faster than people think
Every dryer pushes warm, moist air and lint through the exhaust line. Even with a lint trap, fine particles still escape. In a shorter wall vent, some of that lint reaches the outside more easily. In a roof vent, the air has to travel vertically, and that extra run can slow things down, especially if the duct has elbows, long sections, or years of buildup.
The roof cap itself can make things worse. Some caps have screens or flappers that catch lint. Others get blocked by nesting material, leaves, or winter debris. In colder climates, moisture can also combine with lint and create a stubborn layer inside the duct. That is why a roof dryer vent often needs more careful maintenance than a basic side-wall setup.
Signs you need to clean your roof dryer vent
You do not need to wait for a total blockage. Most systems show warning signs first. Clothes may come out hotter than usual but still damp. The laundry room may feel humid after a cycle. You might notice a musty smell, burning lint odor, or visible lint around the dryer connection.
Outside clues matter too. If the roof cap does not open fully while the dryer runs, airflow is restricted. If very little air is coming out, that is another red flag. For condo units, stacked laundry closets, and multi-level homes, poor drying performance is often the first symptom because the vent line tends to be longer.
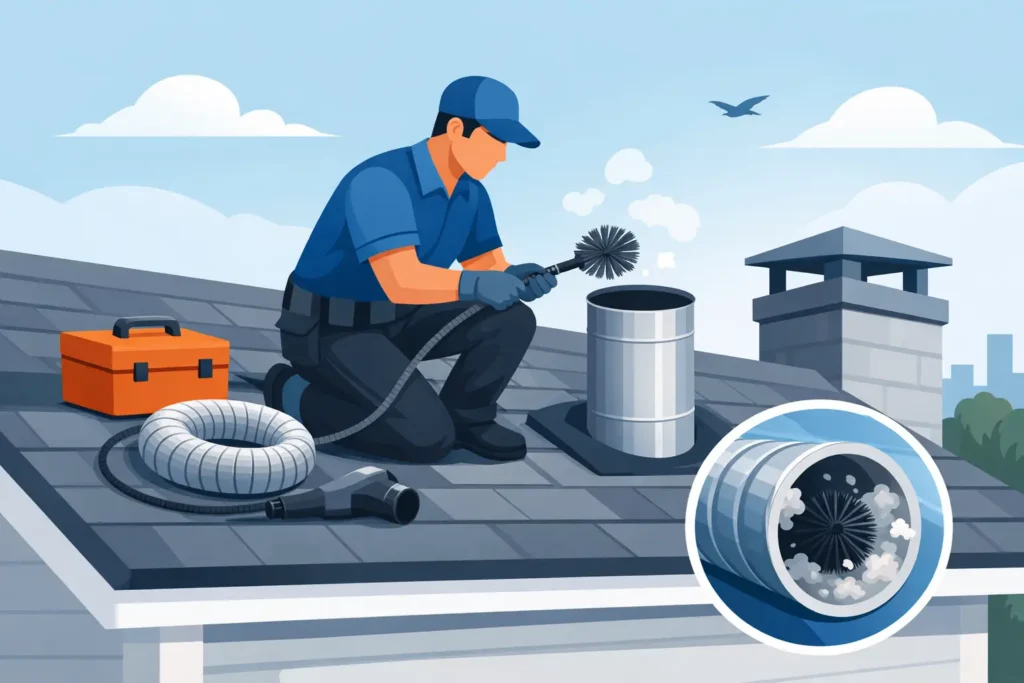
How to clean your roof dryer vent step by step
This job is partly about cleaning and partly about knowing your limits. If your roof is steep, high, icy, wet, or hard to access, stop there. A clogged vent is a problem. Falling off a roof is worse.
Start at the dryer
Unplug the dryer. If it is gas, turn off the gas supply before moving it. Carefully pull the unit away from the wall and disconnect the vent hose. If the hose is crushed, torn, or made of thin plastic or foil-style material, that is worth correcting. A rigid or semi-rigid metal duct is the safer choice for airflow and lint control.
Vacuum around the dryer outlet and behind the machine. Remove lint from the transition hose and inspect for heavy compaction. Sometimes the main restriction is not on the roof at all. It is in the short section behind the dryer where lint gets trapped by kinks or sagging duct.
Use a dryer vent cleaning brush from inside
Feed a dryer vent brush or flexible cleaning rod into the duct from the laundry area. Rotate it slowly and work in sections. The goal is to loosen lint without damaging the duct. If you hit resistance, do not force it aggressively. That can disconnect joints inside walls or attic spaces if the ducting is older or poorly secured.
As lint breaks free, vacuum what comes back toward you. Repeat the process until the brush moves more freely. On many homes, this inside cleaning removes a large share of the blockage before you ever go near the roof.
Check the roof vent cap
If roof access is safe and practical, inspect the vent cap from outside. Remove visible lint, leaves, and debris around the opening. Make sure the flapper or damper can move freely. If there is a screen over the cap, check whether it is clogged. Many dryer vent screens create more lint problems than they solve and may not be recommended for this application.
Use the brush from the top only if you can do it safely and without forcing debris deeper into the line. In some cases, cleaning from both ends works well. In others, especially with long vertical ducts, it can compact the blockage if done carelessly.
Run a test cycle
Reconnect everything securely and run the dryer on an air-only or short cycle. Go outside and watch the roof cap if possible, or have someone else check. You want to see the damper open properly with strong airflow. Back inside, confirm there is no leaking air at the connection behind the dryer.
If drying times are still poor after cleaning, there may be a deeper issue. The duct could be too long, crushed in a concealed area, disconnected in the attic, or packed with lint beyond the reach of standard homeowner tools.
Safety matters more than DIY pride
A lot of online advice makes this sound easier than it is. The cleaning itself is usually straightforward. The roof access is the part that changes everything.
If your home has multiple stories, a steep pitch, fragile roofing, winter frost, or limited roof access, this is not the place to take chances. The same goes for older homes with unknown duct routing. A professional dryer vent cleaning service can clear the line, inspect the termination, and spot problems that a brush kit alone will not solve.
For property managers and landlords, the decision is even simpler. If the vent exits through the roof, professional service creates a cleaner paper trail, lowers liability, and helps avoid repeat complaints about long dry times or overheating appliances.
Common mistakes when cleaning a roof dryer vent
The biggest mistake is cleaning only the lint trap and assuming the system is fine. That trap catches a lot, but not all of it. Another common issue is using a leaf blower or shop vacuum in a way that pushes lint into bends instead of removing it.
Homeowners also miss damaged ducting. If the transition hose behind the dryer is crushed, airflow is already compromised before lint even reaches the roof. On roof terminations, broken dampers and clogged caps are frequent culprits. You can clean the duct and still have poor performance if the vent cap cannot open the way it should.
Then there is frequency. Some households need annual cleaning. Others need it sooner. If you run multiple loads a day, wash pet bedding, or manage tenant turnover in rental units, lint builds faster. It depends on dryer use, vent length, and how the system was installed.
When to call a pro instead of doing it yourself
There is no prize for forcing a DIY job that should be handled by a technician. If you notice scorching smells, visible lint around the roof cap, repeated thermal shutoffs, or a dryer that stays extremely hot, get the system inspected. If birds or pests have gotten into the vent, that is another job for a professional.
The same applies if your dryer vent runs through an attic before exiting the roof. Those systems can hide disconnected joints, crushed sections, or heavy lint deposits where homeowners cannot see them. A proper cleaning should improve airflow, not just make you feel like something got done.
In homes across the GTA, roof dryer vent issues are often discovered only after performance drops badly. By then, the vent line may be overdue for more than a basic brush-out. Companies that specialize in dryer vent cleaning, like Dust Chasers, are built for exactly that kind of work – solving the blockage, checking the full run, and reducing the fire risk that comes with ignored lint buildup.
How often should a roof dryer vent be cleaned?
A good baseline is once a year, but that is not a universal rule. A single person doing a few loads a week may go longer. A family with kids, pets, towels, and constant laundry may need service more often. Shared laundry rooms, rental properties, and commercial settings should be watched even more closely because volume changes everything.
Pay attention to performance more than the calendar. If dry times are increasing, the system is asking for attention. Waiting for a total clog usually means higher energy costs, more wear on the dryer, and a bigger cleanup job.
A roof dryer vent is out of sight, which makes it easy to ignore. But that hidden exit point plays a direct role in drying time, appliance stress, and home safety. Clean it carefully if conditions are safe, and if they are not, hand it off before a small maintenance issue turns into a much bigger one.